
ARO Quickstart
This content is authored by Red Hat experts, but has not yet been tested on every supported configuration. This guide has been validated on OpenShift 4.20. Operator CRD names, API versions, and console paths may differ on other versions.
A quickstart guide to deploying an Azure Red Hat OpenShift (ARO) cluster by using Azure CLI.
For new clusters, use Azure managed identities with platform workload identity federation when possible. This avoids long-lived service principal credentials for ARO platform operations.
Video Walkthrough
If you prefer a more visual medium, you can watch Paul Czarkowski walk through this quickstart on YouTube .
Prerequisites
Azure CLI
Obviously you’ll need to have an Azure account to configure the CLI against.
The standard service-principal deployment in this quickstart works with supported Azure CLI versions. Creating ARO with managed identities and platform workload identity federation requires Azure CLI 2.84.0 or later.
macOS
See Install Azure CLI on macOS for alternative install options.
-
Install Azure CLI using homebrew
Linux (RHEL / Fedora / similar, using dnf)
For Ubuntu, Debian, or other distributions, use the steps in Install the Azure CLI on Linux for your package manager.
-
Import the Microsoft Keys
-
Add the Microsoft Yum Repository
-
Install Azure CLI
Confirm your installation:
Prepare the Azure account for ARO
-
Log into the Azure CLI by running the following and then authorizing through your Web Browser. If you have more than one subscription, list them and select the one where you will deploy the cluster.
-
Make sure you have enough quota in the same Azure region you plan to use for the cluster (below,
eastusmatches the defaultAZR_RESOURCE_LOCATIONused later; change both if you use another region). Confirm current vCPU requirements in Create an Azure Red Hat OpenShift cluster (prerequisites and sizing).See Addendum - Adding Quota to ARO account if you do not have enough quota left for Total Regional vCPUs (Azure Red Hat OpenShift requires a minimum of 44 cores to create a cluster; verify against current Microsoft documents).
-
Register resource providers
Get Red Hat pull secret
A Red Hat pull secret is strongly recommended and is used by the deployment command in this guide. Without a pull secret, access to Red Hat container catalog images and many OperatorHub entries is limited. To deploy without one, omit the --pull-secret argument from the az aro create command.
-
Log into https://console.redhat.com
-
Browse to https://console.redhat.com/openshift/install/azure/aro-provisioned
-
Click the Download pull secret button and save the file to a known path (for example the default
AZR_PULL_SECRETpath used below). Restrict access to the file and do not commit it to source control; for example on macOS or Linux:chmod 600 ~/Downloads/pull-secret.txt.
Choose a credential method
ARO supports two cluster credential models:
- Managed identities with platform workload identity federation: Recommended for new clusters. Azure user-assigned managed identities hold the required Azure RBAC permissions, and OpenShift platform operators authenticate by using federated service account tokens.
- Service principal: Uses an application client ID and client secret for Azure access.
An existing service-principal-based ARO cluster cannot be converted in place to use managed identities. To adopt managed identities, create a new cluster and migrate workloads to it.
For the managed-identity deployment workflow, follow Deploy ARO with Managed Identities and Workload Identity Federation .
The remaining deployment steps in this quickstart use the service-principal credential model.
Deploy ARO using the service-principal credential model
Variables and Resource Group
Set some environment variables to use later, and create an Azure Resource Group.
-
Set the following environment variables
Change the values to suit your environment, but these defaults should work. Resource names must comply with Azure naming rules and length limits. Run all following commands in the same shell so the exported variables apply.
-
Create an Azure resource group
Networking
Create a virtual network with two empty subnets
-
Create virtual network
-
Create control plane subnet
-
Create machine subnet
-
Disable network policies for Private Link Service on the control plane subnet
Optional. The ARO RP will disable this for you if you skip this step. -
OpenShift version (optional)
New clusters use a supported default OpenShift version for your region unless you choose one explicitly. List the exact versions you can install (they change over time as Microsoft and Red Hat add releases):
To pin a build, add --versionwith a full version string from that output (for example4.18.12) to theaz aro createcommand below. Omit--versionto let the platform pick the default for new clusters. -
Create the service-principal-based cluster
The cluster installation typically takes 45-50 minutes, but we recommend budgeting an hour or more. The command below creates a service-principal-based ARO cluster. For new clusters, use the [managed identity and workload identity federation guide](../miwi/) unless you have a specific requirement for the service-principal credential model.To create the cluster on a specific OpenShift version from
az aro get-versions, append--version X.Y.Zto the same command (use the exact string from the table for your region). -
Get OpenShift console URL
-
Get OpenShift credentials
-
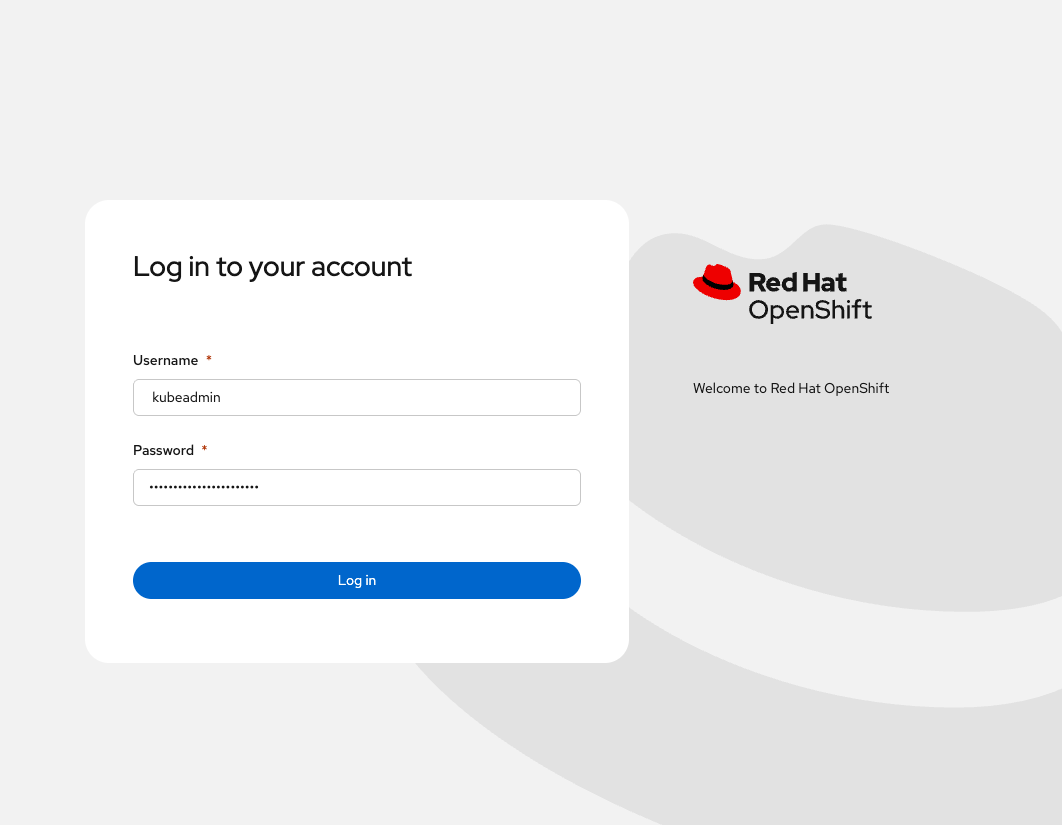
Use the URL and the credentials provided by the output of the last two commands to log into OpenShift via a web browser.
-
Deploy an application to OpenShift
See the following video for a guide on easy application deployment on OpenShift.
Delete Cluster
Once you’re done it is a good idea to delete the cluster so you avoid unexpected charges.
These cleanup steps apply to the service-principal deployment in this quickstart. For a managed-identity cluster, follow the cleanup instructions in the managed identity guide to account for pre-created identities and role assignments.
-
Delete the cluster
The -yflag skips confirmation prompts and is convenient for lab teardown; omit it if you want to be prompted before deletion. -
Delete the Azure resource group
Only do this if there is nothing else in the resource group. az group deleteremoves all resources in that group.
Addendum
Adding Quota to ARO account
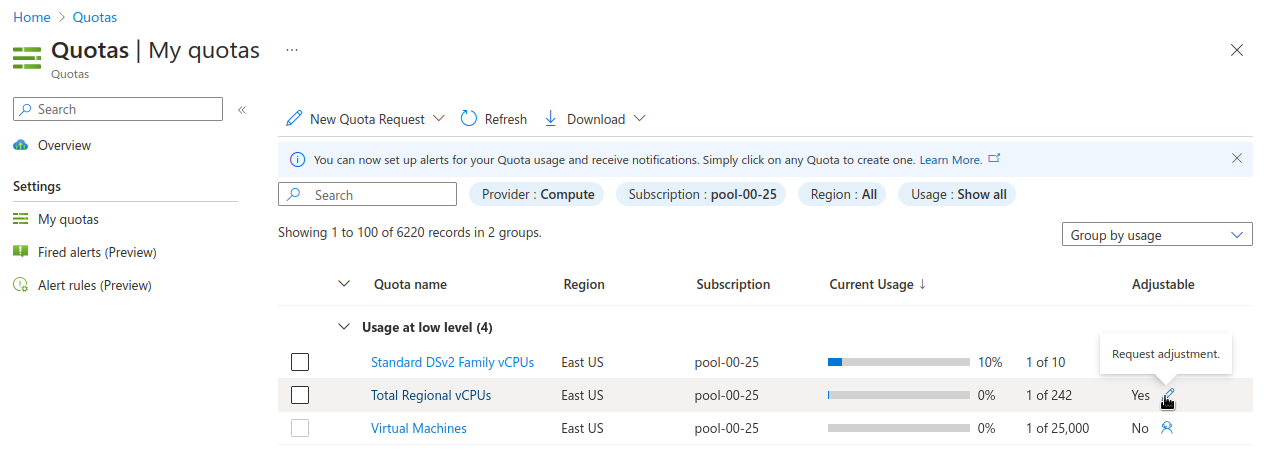
-
Set Issue Type to “Service and subscription limits (quotas)”
-
Set Quota Type to “Compute-VM (cores-vCPUs) subscription limit increases”
-
Click Next Solutions »
-
Click Enter details
-
Set Deployment Model to “Resource Manager”
-
Set Locations to “(US) East US”
-
Set Types to “Standard”
-
Under Standard check “DSv4” and “DSv5”
-
Set New vCPU Limit for each (example “60”)
-
Click Save and continue
-
Click Review + create »
-
Wait until quota is increased.
